

Mitzi, owner and creator of Aurora Wings, has been busy this
past month. This new image is her second new release in the past few weeks.
Meet Miyabi, a geisha apprentice. She was the inspiration behind my finished 6”x6”
mixed-media piece. She was also a joy to color with my Copics
too.

Copics
and other coloring tools:
Skin: RV00, R22, 24, 27;
Ear and Nape of Neck: E000, 00, 21;
Hair: C1, 3, 5, 7, 9, Black 100;
Flowers in Hair: R22, B21, 64, 66;
Kimono: T1, 3, 5, 7, 9, 10;
G40, 82, 94, 99;
YR21, 23, 24, 31,
B23, 34, 37, 41,
R20, 22, 24, 27, 29, 89;
Obi and Hair Ribbon:
R20, 22, 24, 27, 29, 89;
Background Flowers:
B23, 34, 37, 41,
R20, 22, 24, 27, 29, 89,
V20, 22, 25, 28,
B03, 21, 66, YR21, 23, 24, 31;
Spicas: Lipstick and Gold;
Wink of Stella: Gl. Blue and Gl. Gold;
White gel pen;
Memento Marker: Rhubarb Stalk.

The finished mini wall art…I may have to keep this one for
myself. You can find Miyabi in two versions. The Miyabi Figure Only Version here and the Miyabi Full Version here.
Now I would like to take you on a journey of my creative
process. DecoArt mediums have been
my choice of products for several years now. I love how easy they are to create
with and the delightful colors in the fluid acrylics receive top marks from me.

My DecoArt
products used in today’s project are:
Americana Glazing
Medium
DecoArt Media Line:
Matte
Medium;
Black
Gesso;
Fluid
Acrylics in:
Primary
Cyan,
Carbon
Black,
Quinacridone
Burnt Orange;
Shimmer
Mister-White.
Other supplies:
Assorted paper, die cuts, doiles, and acrylic flowers;
Designer paper;
Metal butterflies.
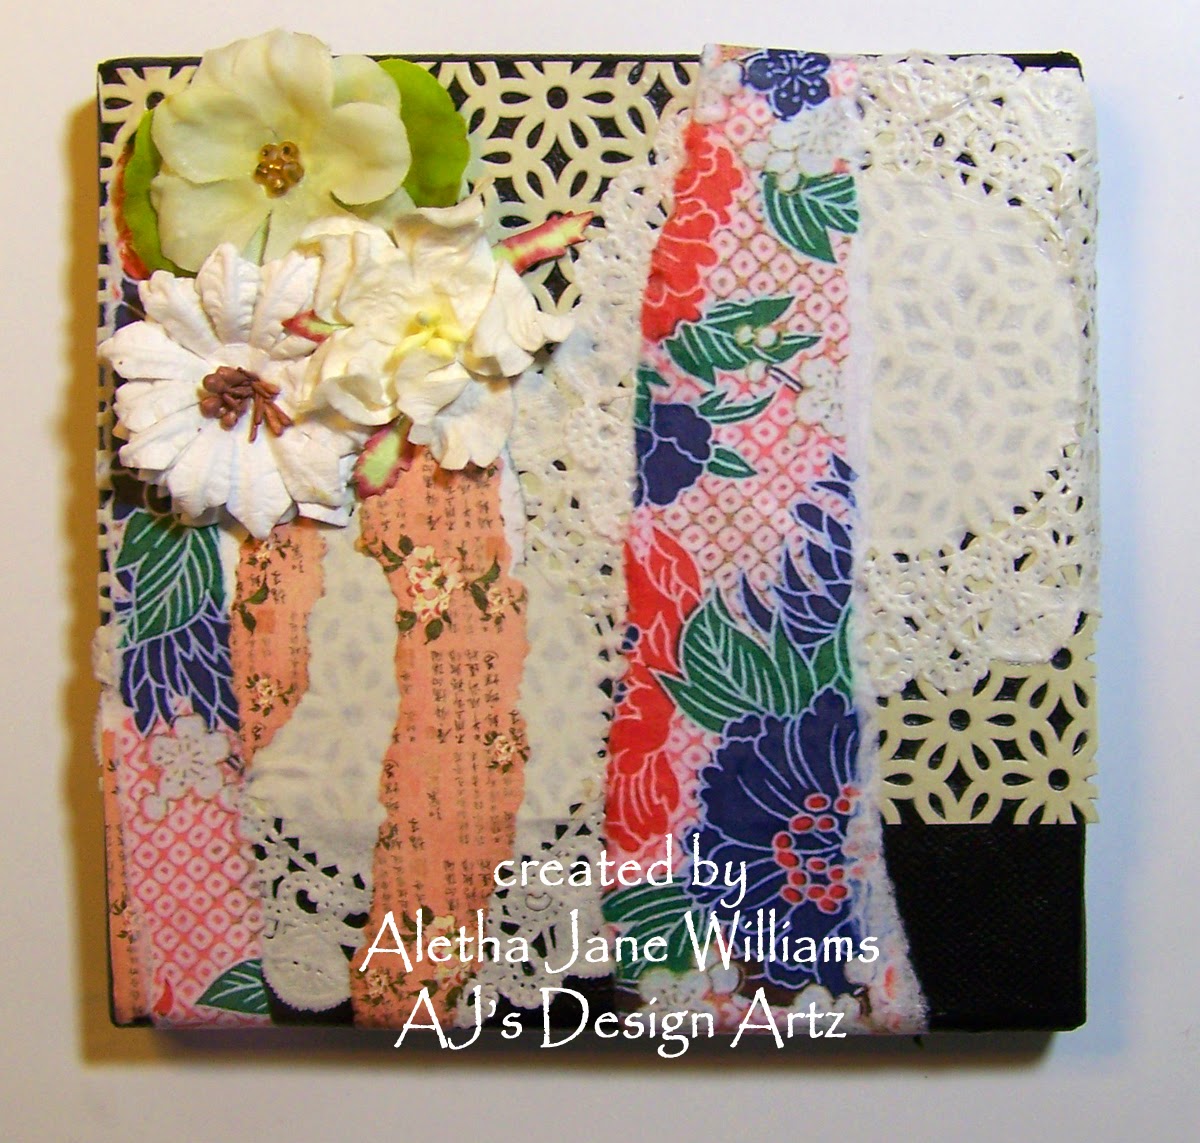
The above photo shows my first step of painting the black
gesso on the 6”x6” stretched canvas. Now comes the fun of adding all the die
cuts, strips of designer papers, and paper flowers for the background texture.
All of these layers were adhered to the canvas with matte medium.

My next steps were adding all my glazing layers (see above).
Each of these layers was carefully wiped with baby wipes. You do not want to
remove all the glaze but you do want each layer to fully dry between layers. I
added some matte medium to the flowers so I could do this same glazing
technique on the flowers. The matte medium adds a coating to surfaces. This
helps with making everything non-absorbent. NOTE: The glazing colors were
accomplished with a 1:1 ration of fluid acrylic and glazing medium.

I have shot my finished piece at an angle. I hope you can
see the dimension. The main image has been fussy cut and adhered with adhesive
squares to raise it away from the canvas.

I hope that you head over to the AuroraWings Showcase blog and check out the talent of the other Showcase
Designers. I feel honored to be working alongside these wonderful artists. Thanks
for stopping by. If you have any questions, please contact me.


I love seeing the work that went into creating this stunning wall art, Aletha! At such diminutive scale of 6x6 inches, it has such an awesome presense. I can appreciate the time and effort that must have gone into this project - the coloring and fussy-cutting of the "Miyabi" image alone must have taken hours! Love the red and blue with black, too. This is an amazing wall art! Thank you so much for the wonderful inspiration for this new release.
ReplyDeleteBig hugs,
Mitzi xxx
Wow, this is absolutely amazing. I'm so glad I stopped by and got to enjoy this. It's one I could look at for a very long time, just taking in all the beautiful colors and details.
ReplyDeleteAbsolutely breathtaking, Aletha! I think I'm actually speechless. LOVE seeing the process. you are such an inspiration! xxD
ReplyDeleteBlow me away batman this card is the BOMB! I am so into the Asian crafts right now! You did an amazing job coloring as well!
ReplyDeleteAletha, this is such a fabulous piece of art - thank u for showing how u put it together too ! ^_^
ReplyDelete