Showing posts with label Christmas. Show all posts

Wednesday, October 11, 2017

Getting Ready for Christmas with Concord & 9th


I bit the bullet and started on Christmas projects. I decided to go with Concord & 9th’s September’s release and landed on their Many Mandala stamps and dies. Many years ago, when I was healthy enough to participate in the arts and crafts shows community, I created mandala ornaments, shadow boxes, and cards with mandala stamps from Outline Rubber Stamps. I have worn out most of my wood mounted stamps and unfortunately they are out of business. When I saw Concord & 9th’s "Many Mandalas" set, my world was looking up!

I will be making more mandalas and in more colors of cardstock, but this time around I chose gold embossing on a green and red cardstock. My go-to cardstock and embossing powders are from Gina K. Designs. Gina’s cardstock is a base-weight stock and takes whatever you dish out. The photos below are my process photos. Enjoy!


Photo above is gold embossing on the cardstock along with the die cuts.
You will need two sets of the four shown.


The three photos above are the order for each layer for each side of the mandala.
You will need two complete layers sides of the complete layering.


Ta Da! You now have two sides complete for one finished mandala.
At this time you need to add a crystals, or any kind of embellishment you want,
to the center of each side.


Take the backside of one mandala and add some gold thread,
this thread is from my stash, and foam tape for added dimension.


Another Ta Da! Above is my finished mandala ornament.


My mandala is now ready for the tree or as a table top decoration.

I hope that you will take a look at Concord & 9th’s merchandise. You creativity will really start flowing.

Challenges:
ABC Christmas  Challenge – U for Unlimited
Always Fun Challenge #27 – Lots of Layers


Thanks for stopping by! If you have any questions, please contact me.
Aletha Jane
AJ’s Design Artz


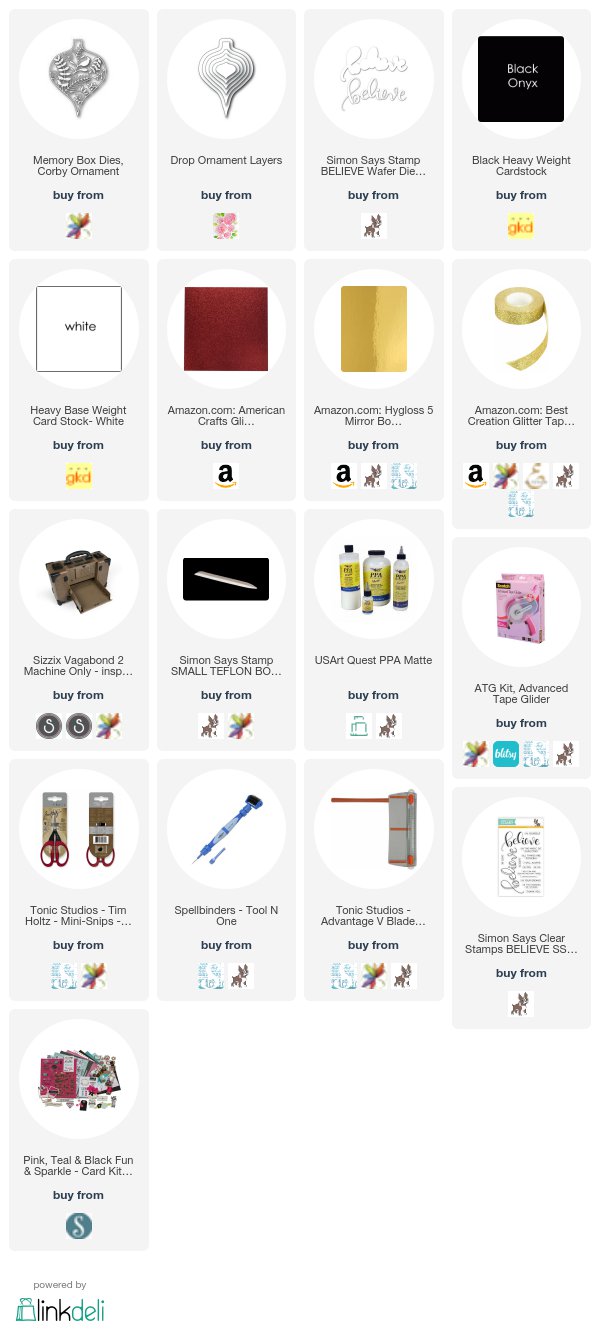
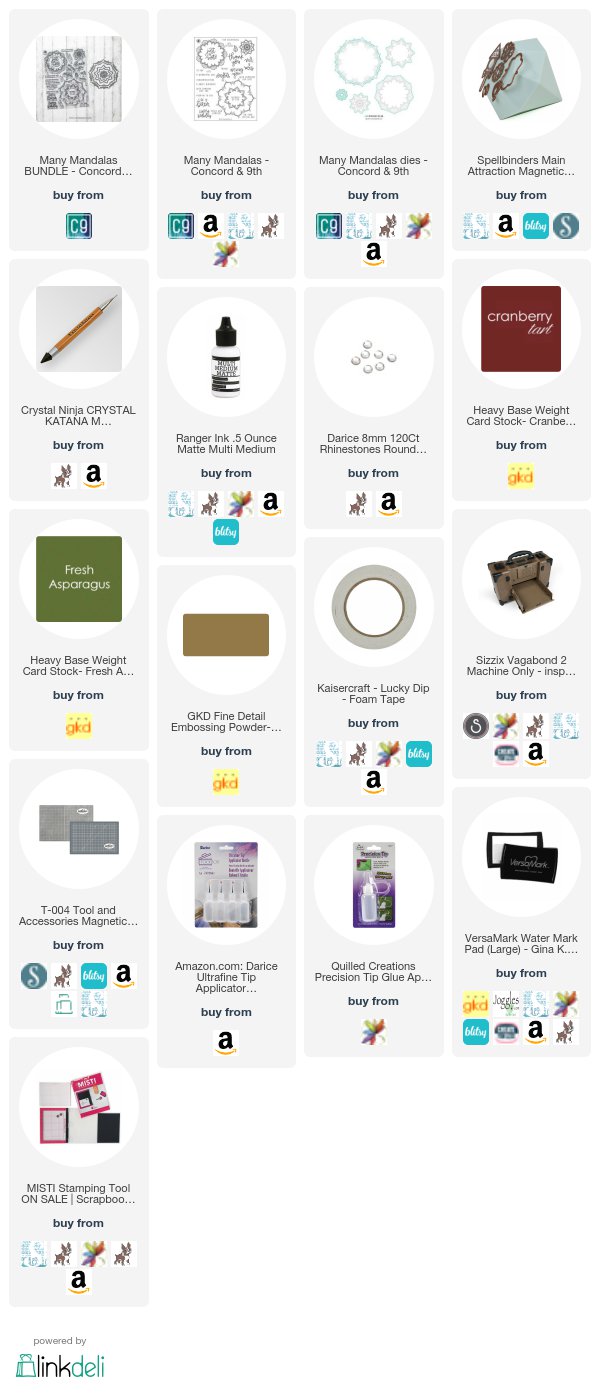
Affiliated links are listed below at no cost to you. The supplies for making this project were purchased by me. If you click on the pics below (you have a choice of several online stores) and make a purchase, I get a commission. I want to thank everyone for their continued support of my art.

Friday, September 1, 2017

Believe in the Magic of Christmas and the Winter Season


To all that are going to have a three day weekend, enjoy! I also hope that all artists and crafters get a little time for creativity!

The following project has no design teams attached to it. I really needed to see how I would do “out of my comfort zone”, meaning my comfort zone is all about the coloring and making small pieces of art. I really enjoyed this process. I made a mess, but hey, it was worth it.

This post is going to be very photo heavy. I was trying to get every step that I took in this process. So, let’s get started.
Photo one above shows the end product of attaching the black cardstock to a 5½” white square card base. Before I attached the red glitter cardstock to the black layer, I die cut an ornament shape.


Photo two above shows the die cut ornament layer, cut out of gold mirror cardstock, embedded in the black ornament area. I have ordered the other ornament inlays. I must say that they are all beautiful. Notice the gold glitter sides? Well, I positioned the red on the black crooked. Washing tape to the rescue!


Photo three above is the finished card, but flat. I cut the detailed ornament out a second time in the red glitter cardstock. This allowed me to make the Cardinal red. The “believe” sentiment was designed by K Werner Designs for Simon Says Stamp. It is gorgeous. The “believe die” was cut three times in black and once in gold mirror cardstock. I glued all pieces with paper adhesive; the top layer is the gold mirror cardstock. See those two hearts? I got them from one of Spellbinders card kits. Spellbinders' monthly kits are amazing and you get a lot for the price point.


The finished piece! This will soon be in my Zibbet and ArtFire shops. You can also click within my website, AJ’s Design Artz, and it will take you to my Zibbet shop.

Challenges for Believe are:
613 Avenue Create – Anything Goes w/ Shabby Chic twist
Crafting by Designs – September Anything Goes
Simon Says Wednesday Blog – Anything Goes

Thanks for stopping by! If you have any question, please contact me.
Aletha Jane


Some affiliated links are listed below at no cost to you. The supplies for making this project were purchased by me, but if you click on the pics below and make a purchase, I get a small commission. I want to thank everyone for their continued support of my art.

Thursday, December 22, 2016

Lots of Candy Canes


I have another Christmas card for you today. This was a very simple one and lots of fun to make.

The first step was to cut some glitter paper from American Crafts with Spellbinder’s Candy Cane Card Front die. I have had this die for some time and wanted to use it before the Christmas season is over. I also needed a card for my husband.


Next I picked some patterned paper from the Simon Says Stamp 2016 Holiday Card Kit (love SSS’s monthly kits and their limited edition kits are amazing), and cut that to an A2 size panel.  Next step was adhering this card front to a card base (120#). 

My final steps were adding sequins on the front and completing the inside of the card with a sentiment. I also decided to add a strip of the paper to the bottom of this inside. It is a strip cut to ¾” of the paper used on the front, but the other side of that paper. A list of all the supplies used is listed below.


I would like to enter the following challenges:
Tuesday Morning Sketches – Anything Goes

I really appreciate everyone who takes the time to follow and leave a comment on my blog. It really means a lot to me. If I do not make it back in the next couple of days with another project, I want to wish everyone the merriest of Christmas and the happiest of holidays.
Aletha Jane 


Some of the supplies listed below are affiliated links. This is at no cost to you, but if you were to click on one of the pictures and purchase from that store, I would receive a small percentage of that sale. Thanks so much for your continued support.


Tuesday, December 13, 2016

Simon Says Stamp Limited Edition Card Kit for December 2016

Me again, trying to get something posted before the Christmas rush! It’s been a while, so I am thrilled to show you a Christmas card that I completed yesterday. This A2 card was created using most of the supplies in Simon’s Limited Edition December Card Kit. As I am writing this, I checked to see if this kit was still available. As of today, you can still put your name on a waiting list. Simon will alert you when they have it back in stock. In the meantime, you can purchase all the items that are available in the kit.  


I am enjoying the process of making the clean and simple style cards. For so long I was creating square cards with a lot of embellishments and designing for illustrators that have their own line of digital images. Now I am working for myself and thoroughly happy. BUT, I will always support those illustrators work. I designed for some very talented artists.

On to the project. I have most of the ingredients that I used listed below. If you want to see what it available in this card kit, please click on the picture below. My first thing was coloring the retro, and so cute, Santa with Copics.  He was then trimmed with a stitched circle die. Next step was mounting him on a red cardstock circle.


I knew that I wanted some sort of banner, so I made my own fish tail one, with designer paper, and layered that on to brown and red cardstock. These cardstocks were available in the kit.


Before assembly began I embossed the “Have a swell Christmas” with Versamark ink and black embossing powder. Trimmed that into a rectangle and mounted that layer on red cardstock. After attaching this to the card base, I added all the elements and finished with the green and red stickles.


Thanks so much for stopping by. Any questions, please contact me.
Aletha Jane


Some of the links listed below are affiliations that I have with those companies. This is provided to you at no cost, but if you do decided to purchase anything, I would get some compensation if you use the links below. Thanks so much for supporting my art work.


I'm Moving!

I am moving my blog to my website at AJ's Design Artz . I hope you stop by!