
Showing posts with label card. Show all posts

Saturday, October 21, 2017

“BOO!” to You and Happy Haunting

Happy Halloween to everyone! We decorate outlandishly and wait for all the neighborhood kids to come knocking. Our “Neighborhood e-Newsletter” is amazing during this holiday. They ask people in the neighborhood to let them know if they are be handing out treats. With the answers they accumulate, they create a map with those addresses. This enables the parents to head to those houses with their little goblins.  Pretty cool, huh? My project for today is a Halloween card for my youngest grandson. This will be my first, and not my last, card to him for Halloween. Let’s get this ball rolling!

The photo above is showing my finished front layer for my card. I have die cut the frame die with the insert die three times, and used Perfect Paper Adhesive for gluing them together.

In my second photo above shows the background completed with Distress Oxide Inks in Walnut Stain, Frayed Burlap, Antique Linen, Wilted Violet, Fossilized Amber, and Peeled Paint. The moon was added with a Club Scrap large sponge dauber (link below) and stamped several times with Distress Ink Picket Fence. Before it was dry I added droplets of water with a Distress Sprayer.

My third photo depicts the addition of Picket Fence Distress Ink to lighten the trees and to give them some depth

In the fourth photo is my “almost” complete card with the addition of the bats from the Spellbinder’s Haunted Manor die.

My finished card! That last touch was adding the word “Boo!” from Spellbinders Boo Web die with Distress Oxides in Walnut Stain and Fossilized Amber. I felt like there was something missing. I decided to add Ranger’s Glossy Accents to the “Boo!” That was what was needed.

I’m entering “BOO!” in the following challenges:
Through the Craft Room Door – Anything Goes
Di’s Digi Challenge – Halloween and/or Harvest
My Time to Craft – Halloween or Cats
Simply Papercraft - Anything Goes

Thank so much for stopping by! If you have any questions, please contact me. I hope everyone, young and old, has a great and fun Halloween.
Aletha Jane
AJ’s Design Artz


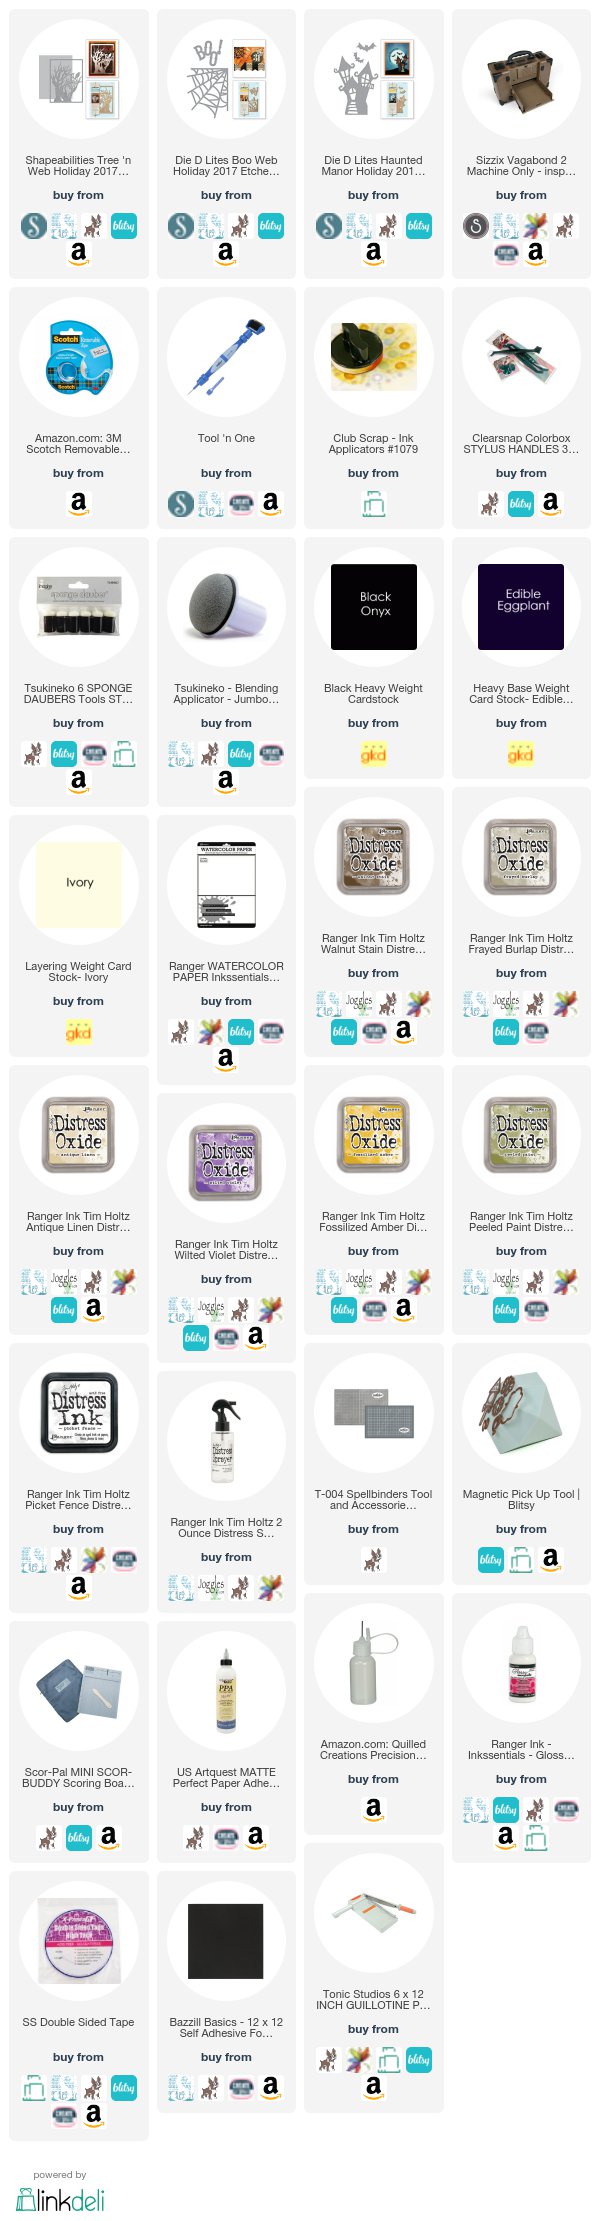
Affiliated links are listed below at no cost to you. The supplies for making this project were purchased by me. If you click on the pics below (you have a choice of several online stores) and make a purchase, I get a commission. I want to thank everyone for their continued support of my art.


Friday, September 1, 2017

Believe in the Magic of Christmas and the Winter Season


To all that are going to have a three day weekend, enjoy! I also hope that all artists and crafters get a little time for creativity!

The following project has no design teams attached to it. I really needed to see how I would do “out of my comfort zone”, meaning my comfort zone is all about the coloring and making small pieces of art. I really enjoyed this process. I made a mess, but hey, it was worth it.

This post is going to be very photo heavy. I was trying to get every step that I took in this process. So, let’s get started.
Photo one above shows the end product of attaching the black cardstock to a 5½” white square card base. Before I attached the red glitter cardstock to the black layer, I die cut an ornament shape.


Photo two above shows the die cut ornament layer, cut out of gold mirror cardstock, embedded in the black ornament area. I have ordered the other ornament inlays. I must say that they are all beautiful. Notice the gold glitter sides? Well, I positioned the red on the black crooked. Washing tape to the rescue!


Photo three above is the finished card, but flat. I cut the detailed ornament out a second time in the red glitter cardstock. This allowed me to make the Cardinal red. The “believe” sentiment was designed by K Werner Designs for Simon Says Stamp. It is gorgeous. The “believe die” was cut three times in black and once in gold mirror cardstock. I glued all pieces with paper adhesive; the top layer is the gold mirror cardstock. See those two hearts? I got them from one of Spellbinders card kits. Spellbinders' monthly kits are amazing and you get a lot for the price point.


The finished piece! This will soon be in my Zibbet and ArtFire shops. You can also click within my website, AJ’s Design Artz, and it will take you to my Zibbet shop.

Challenges for Believe are:
613 Avenue Create – Anything Goes w/ Shabby Chic twist
Crafting by Designs – September Anything Goes
Simon Says Wednesday Blog – Anything Goes

Thanks for stopping by! If you have any question, please contact me.
Aletha Jane


Some affiliated links are listed below at no cost to you. The supplies for making this project were purchased by me, but if you click on the pics below and make a purchase, I get a small commission. I want to thank everyone for their continued support of my art.

Monday, June 5, 2017

TTCRD New Challenge Today


I think I am finally getting things sorted out so I can enjoy more time in my studio. This is my first post for the Through the Craft Room Door (TTCRD) Blog Challenge. I am thrilled that I was one of the "chosen ones" to be added as a design team member. All challenges are “anything goes” and they run for a month.

This week you will see projects from the TTCRD design teams. Today Team A will be creating with images from illustrator/artist Maria Emilia of Mari Digis. Mari has some of the cutest images, and I particularly love the “big-eye art”.

A little bit about Maria:
“My name is Maria Emilia and I love to draw. Through Mari Digis I was able to offer my designs to more people so they can color and attach them to their craft projects. Seeing the fabulous arts of so many people keeps me constantly inspired to create new sketches! "

My “big-eye art” image that I chose is “I Am Art”. My first process was coloring with Copics. Coloring is one of my ways to relax, be it markers, watercolors, or pencils. I have printed “I Am Art” on to Bristol Smooth 300 series. I really enjoy coloring with alcohol markers on this stock. Everything seems to blend flawlessly. My sizing for the image is around 4”, which is the perfect size for an A2 size card. Now just few guidelines for my process.

Copics used:
Skin: E000, 00, 02, 04, 11, 13;
Cheeks: R20;
Hair: YR31, E29, 43, 44;
Hat, Apron, Shoes: R05, 08, 20, 89, W7;
Blouse, Brush tip: BG10, 11, 13, 15, 49;
Capris, Eyes, Brush Barrel: YG91, 93, 95, 99.

I do not have process photos, so I will explain as best as I can. All links to my supplies are listed below with several merchants.

After my Copic coloring, I trimmed the image to 3” x 5.5” and added a slight rule along the 5.5” size with Memento Lady Bug ink. I just tapped the sides to the pad to get a really narrow strip of red ink.


I trimmed a piece of Gina K Designs Red Velvet cardstock to 4” x 5.5” for an image base. I could not find any designer paper that I liked. My stash of washi tape came to my rescue and it was the perfect turquoise to match the BGs I used in my coloring. This was all attached to a Gina K Designs White 120# cardstock base trimmed to 4.25” x 11” and folded from the top to make a top folding A2 card.

To finish the card I die cut Simon Says Stamps’ “Believe in the Season” which pairs with the stamp set “Believe in the Season”.


Challenges that I am entering are:
  
Need more inspiration? Well, I have the perfect spot for you. Come and subscribe to our "Through the Craft Room Door" online magazine. There will be more inspiration that will get your mojo flowing. The fee is $18 US for the first year. This gives you access to back issues, digital images and videos. Renewal after the first year is $12 US with the $6 US being refunded when payment is confirmed. Before you can subscribe, please join our website "Through the Craft Room Door". We have challenges there also. After you have joined, please click here to start everything to start your adventure with TTCRD's online magazine.

Thanks so much for stopping by! I do hope that you will head to our blog, Through the Craft Room Door, and join us for “anything goes”.
Aletha Jane
AJ’s Design Artz

Some affiliated links are listed below at no cost to you. The supplies for making this project were purchased by me, but if you click on the pics below and make a purchase, I get a commission. I want to thank everyone for their continued support of my art.

The legends for all affiliated/non-affiliated links are:
SZX - Sizzix


I'm Moving!

I am moving my blog to my website at AJ's Design Artz . I hope you stop by!